Category
by Jenny Morin and Sharon Wagner
Spruce up Your Home: A Guide to Budget-friendly Decluttering & Decorating
Is your space lacking that spark? The atmosphere might need a spruce up, and the good news is it won’t break your budget.
We will dive into uncomplicated, effective ways to invigorate and energize your home.
Give Old Furniture a New Lease on Life
Before you discard that aging sofa or dining table, think about giving it a second life. By sanding down rough edges, applying a fresh coat of paint, or reupholstering the cushions, you not only save money, but also create a piece that’s uniquely yours.
This form of recycling is also environmentally friendly. Plus, the satisfaction of reviving something old can be deeply rewarding.
Delegate the Fix-it Jobs With a Home Maintenance App
Problems like a leaky faucet or a drafty window need attention but can often be time consuming. By outsourcing these tasks to a skilled handyman or repair service, you can free up your own time for activities that you enjoy.
See Jenny’s blog about outsourcing here. https://efficientspaces.org/how-much-does-a-professional-organizer-cost-anyway/
If you are a DIYer, utilizing a home repair app to is convenient, and can help eliminate repair-related stress. You can fix a problem while a trained professional skilled in general repairs walks you through the entire process.
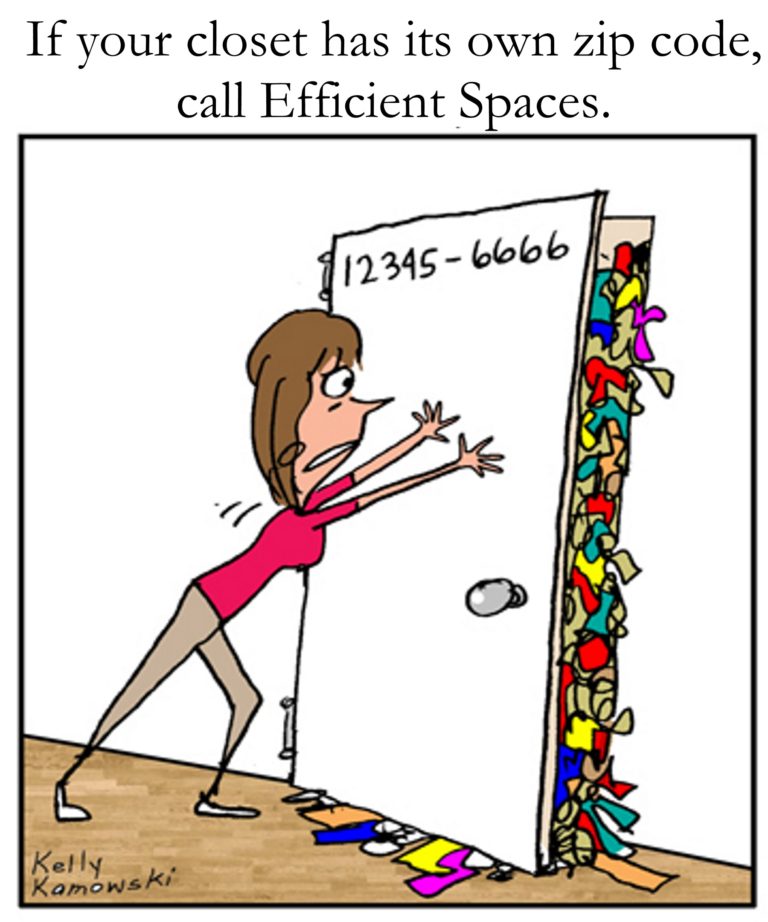
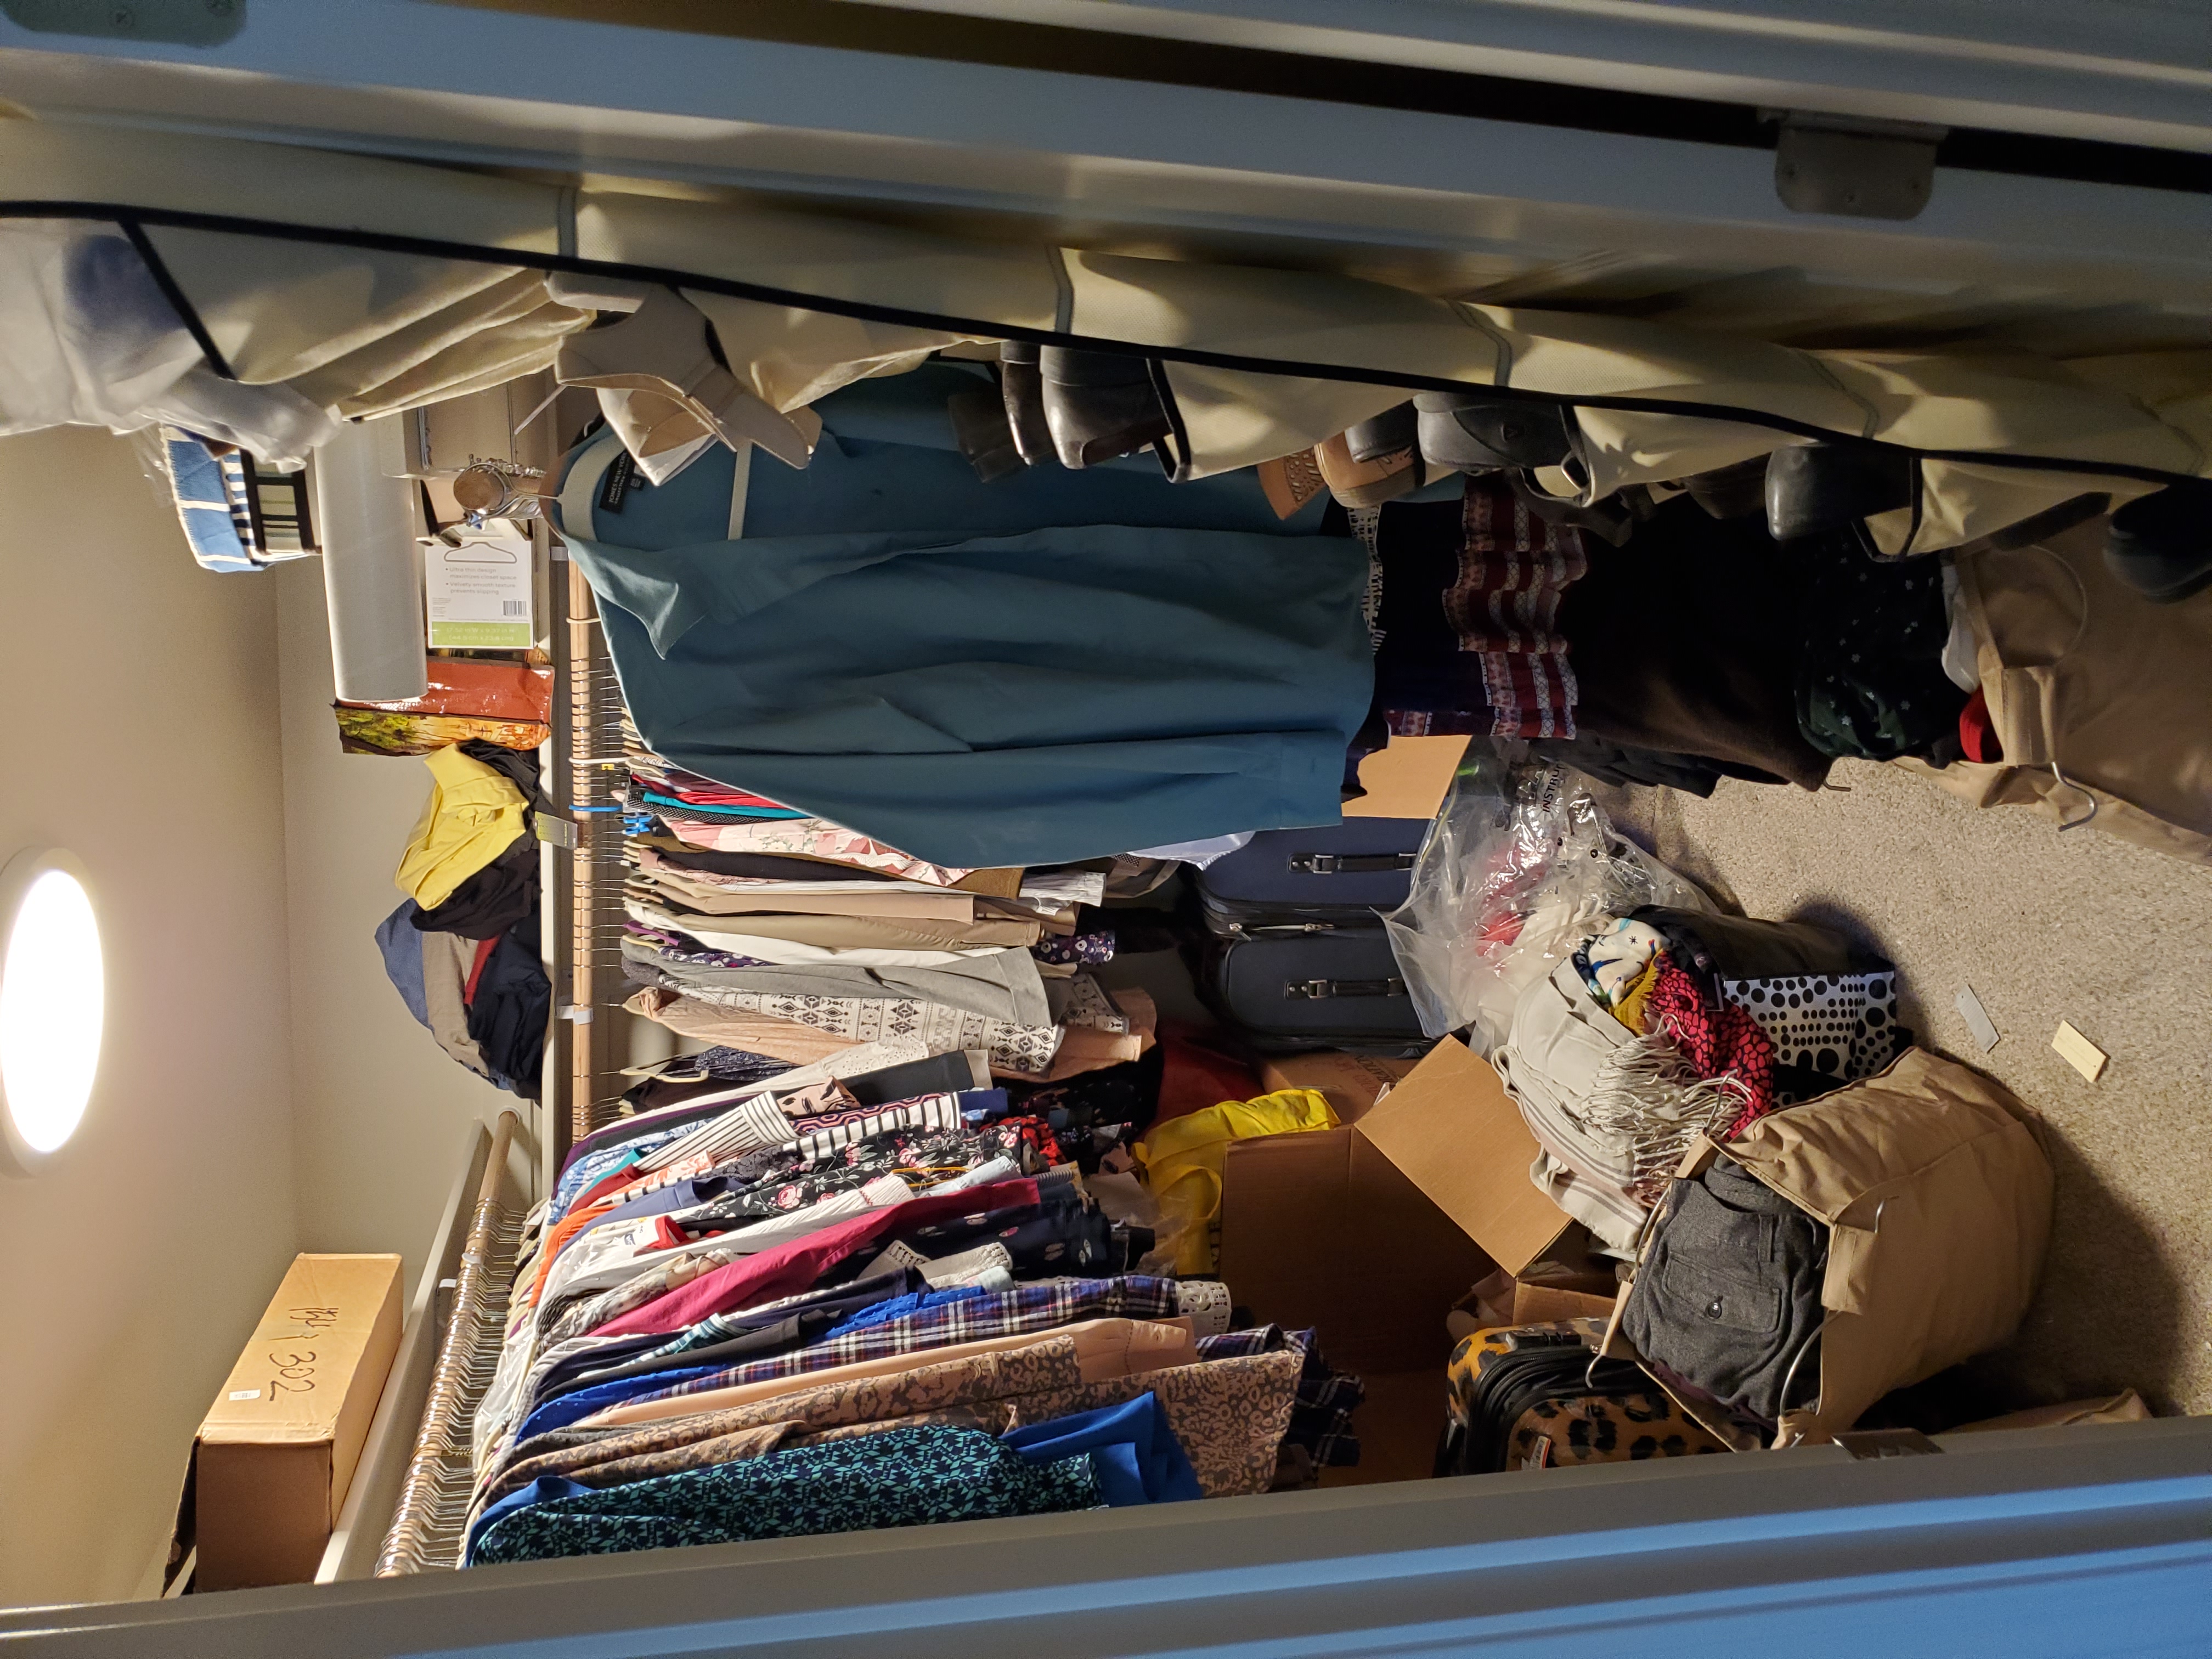
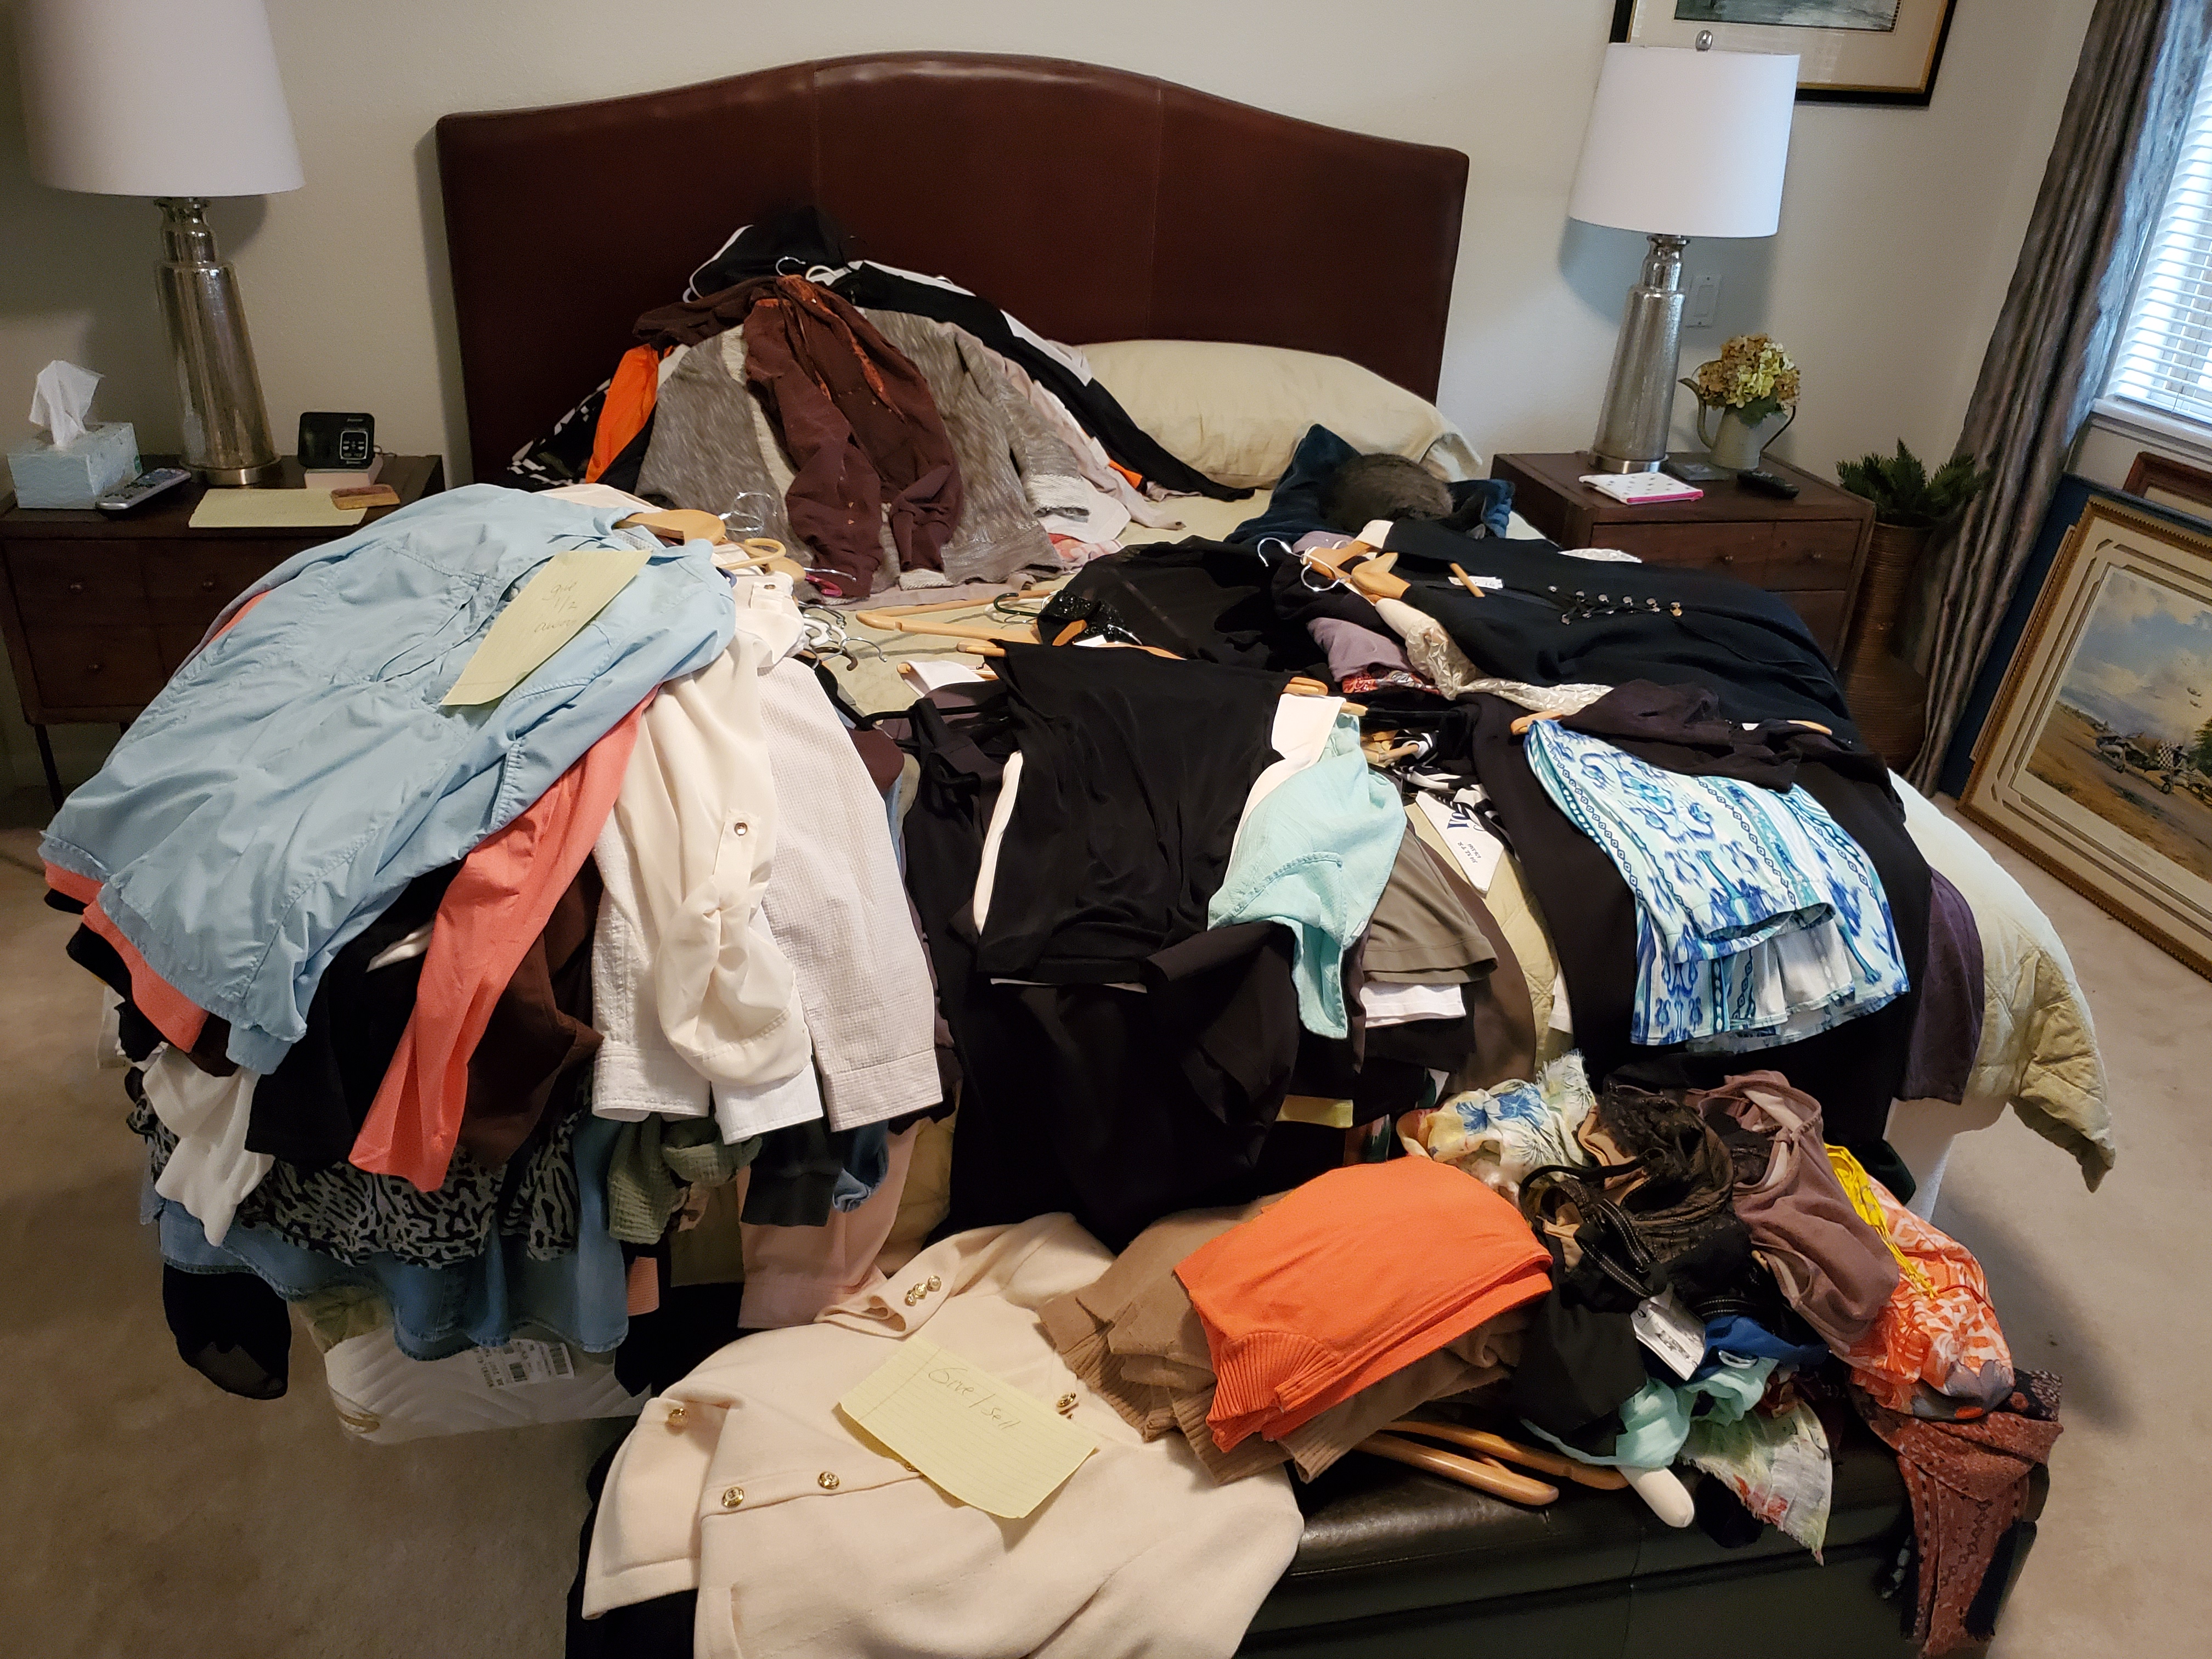
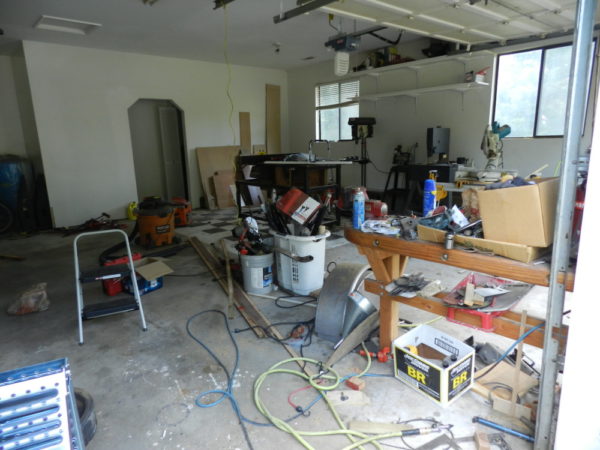
Hire a Professional Organizer
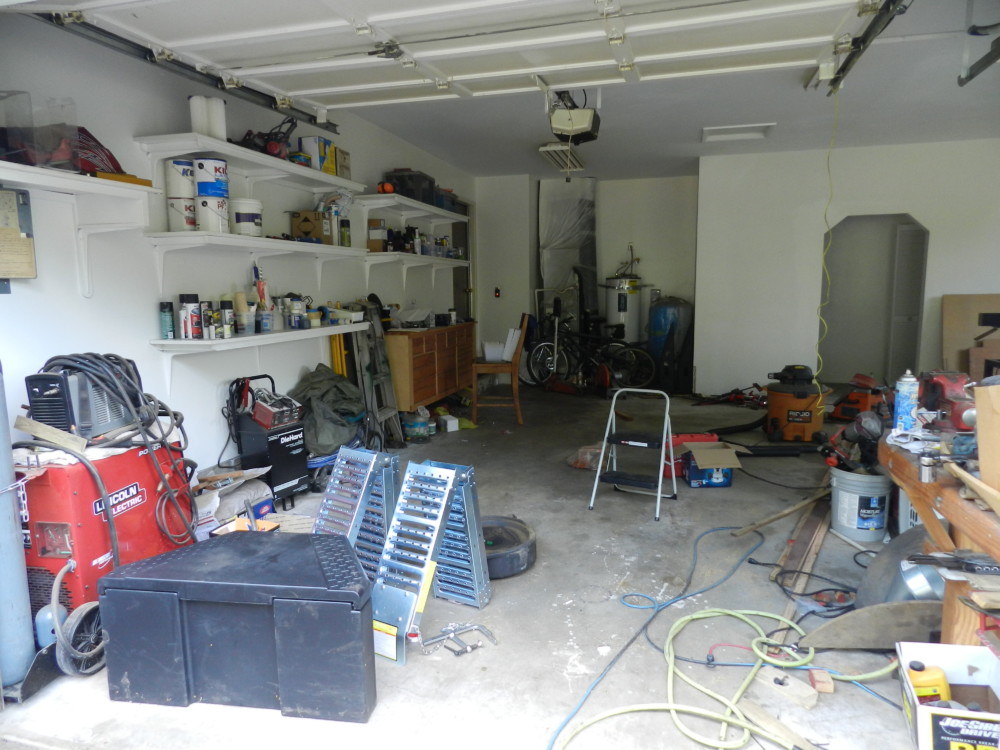
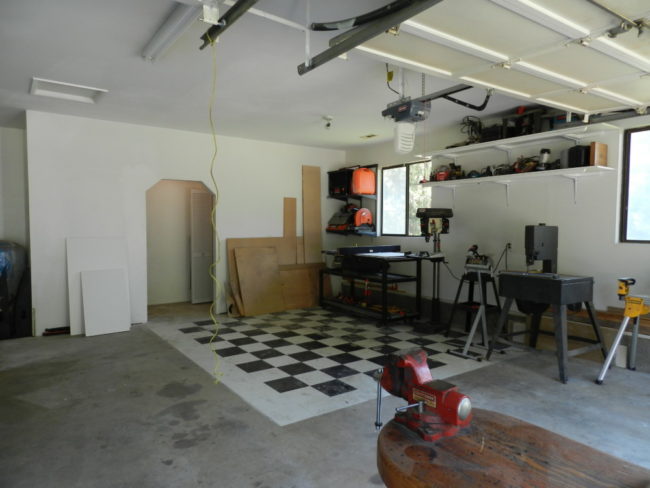
A professional organizer can transform and declutter your space into an efficient, well-ordered home, making your life more productive and stress-free.
In her book, Get Organized Quick, Jenny talks about how to set up a mail zone that will eliminate the piles of unopened mail. Avoid late fees and the overwhelm created by visual clutter when you follow her tips!
Other areas that easily turn into dump zones are the kitchen counters and dining table. When you declutter your space, you’ll be able to invite people over without stress.
When you have clear kitchen surfaces, (and a home for food & tools) everything is faster. Meal preparation and sitting down to eat at a table together are important daily activities!
If you haven’t received Jenny’s Give it a home: 111 Ideas to find homes for your Stuff please check it out. Anyone who signs up for my blog gets it free!
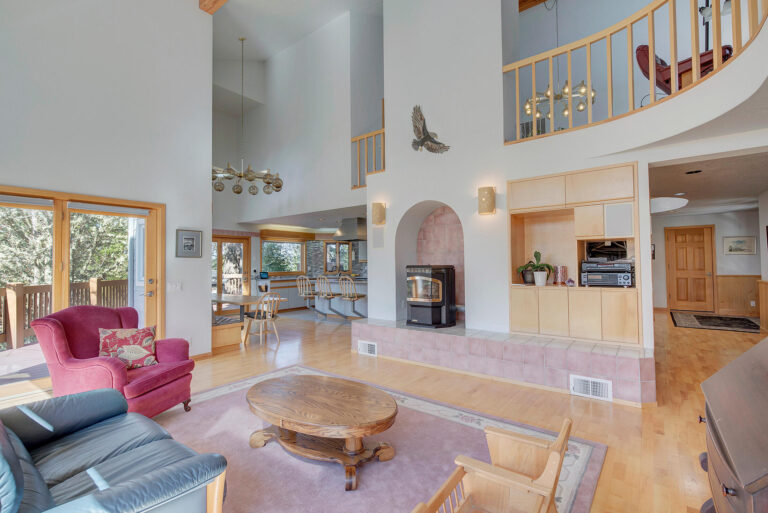
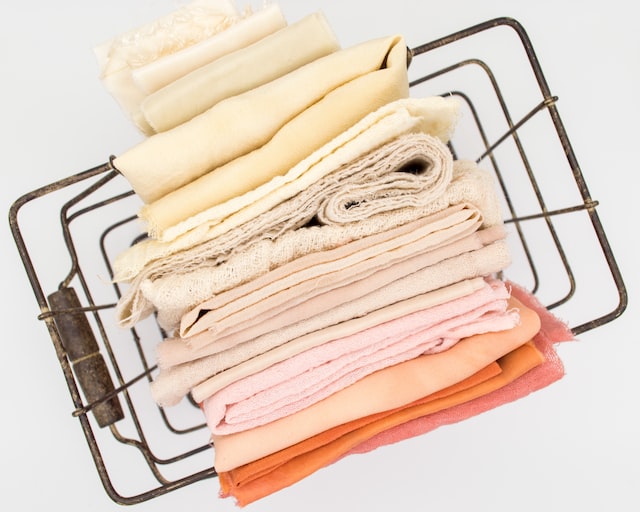
Play with Textiles and Materials
Having a singular texture or material throughout your home can make it look and feel bland. To spruce up your rooms, consider adding a blend of textiles and materials.
For example, a metal coffee table might pair well with a wooden bookshelf, while a velvet sofa can be spruced up with contrasting silk throw pillows. This creates tactile as well as visual richness.
Scan Papers to Declutter
Decluttering your space by digitizing papers not only saves physical space but also makes document management more efficient. Using a mobile scanning app to quickly scan a document, you can easily convert all your important documents into digital formats, making them accessible anytime, anywhere.
Scanning eliminates a huge amount of paper clutter. Jenny approves of scanning; just make sure to store any documents you’ve scanned in assigned folders so you can find them later!
Scanning paper with your phone camera is easy, and you can create folders in your phone’s digital ‘photo album’.
You can store them in the cloud as well, on Google drive, Box or Dropbox, for example, which is a huge step to declutter your space.
Some documents you do need to keep (deeds, titles, legal documents and other signed documents). However, most tax preparers accept and encourage digital supporting documents and expense receipts now.
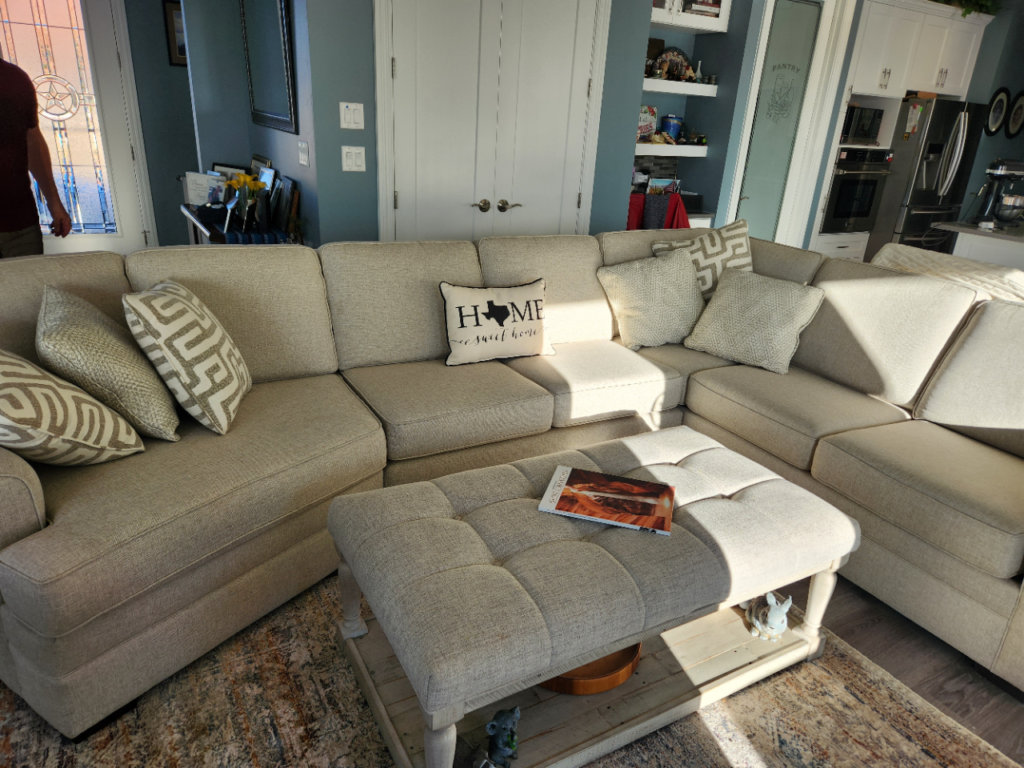
Boost Comfort with Cushions
Boost Comfort with Cushions
A straightforward way to amplify both the comfort and appearance of your living room is through accent cushions. Bamboo fiber pillows are not just comfortable, but also have the added advantage of being durable. As for maintenance, it’s advisable to fluff them regularly and use washable pillowcases that can be easily cleaned.
If your furniture is neutral colors, choose cushions & accents with bold colors like reds and yellows to brighten up your living room. This will punch up the color & add variety.
Switch Up Window Dressings
The drapery or window blinds you choose can dramatically change the mood of a room. The right choice will serve as a beautiful backdrop, subtly elevating the entire space. Whether you opt for something light and airy, like sheers, or a solid color for privacy, make sure it meshes well with the existing color palette.
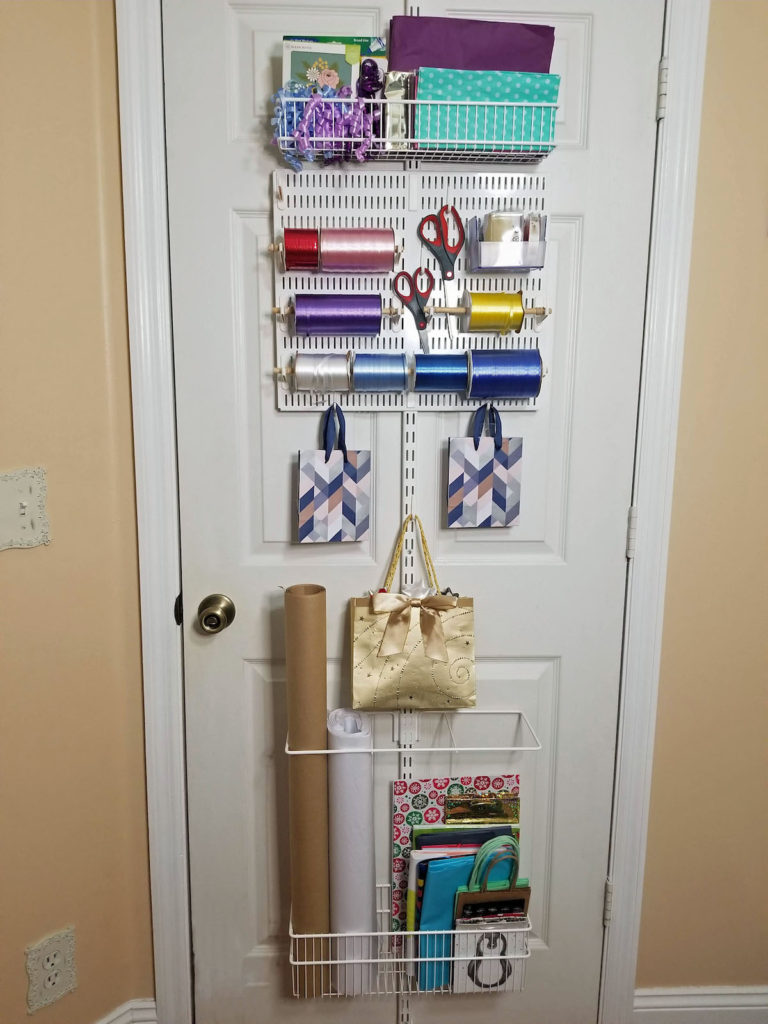
Streamline Your Living Areas
High-traffic areas in your home, like the kitchen and restroom, often end up being cluttered. Investing in some nifty organizational solutions such as spice racks, drawer dividers, or vanity trays can make a world of difference.
With everything in its designated place, your daily tasks become a breeze. Your quality of life is enhanced when we declutter your space.
Finding homes or enclosed spaces for the types of things that clutter up your surfaces is a key to living an uncluttered life. Things like keys, glasses, remotes, purses, wallets, etc. need a place to ‘live’.
Why Everything Needs a Home
- So you can find items when needed
- So clutter doesn’t take over your desk or dining table
I found a solution for my teenager leaving his wallet and keys scattered around the house. I gave him a 10-inch wide basket to hold his personal stuff and put it on a corner of the counter. (I don’t let people put their stuff on my kitchen desk.) This works great for him—as long as he puts his stuff there when he gets home, that is!
Conclusion
Ready to declutter your life and boost your productivity? Visit Efficient Spaces now and transform your space today!
You don’t have to go through a major renovation to bring zest and flair back to your home.
With straightforward solutions like digitizing your documents and hiring a professional organizer to declutter your space, your home will be transformed into a place of beauty, comfort, and efficiency. Make just a few key changes, and you’ll see your place re-energized!
Resources:
Thank you to guest blogger Sharon Wagner for contributing to our article!
Invite a friend to check out this great resource with pictures & links:
Jenny’s book Get Organized Quick: 15 Minutes a Day to Organize Your Life


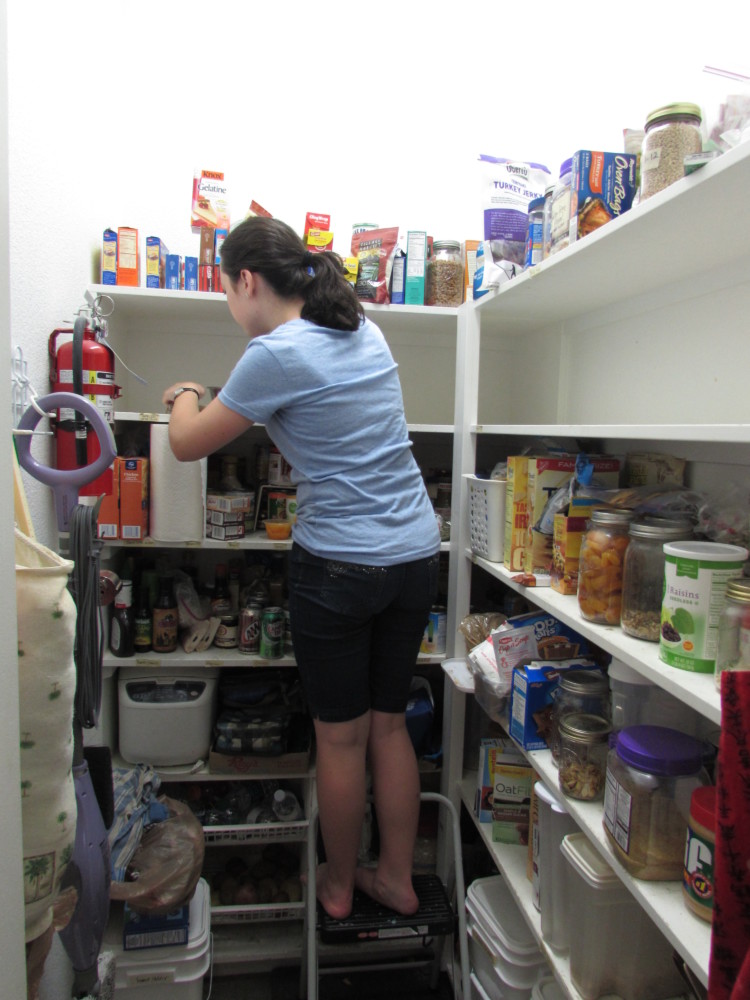


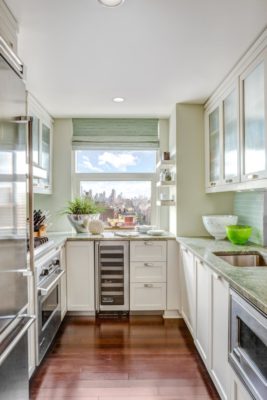
 Not a helper to chop veggies or a sous chef—I’m talking organizational help. Looking for kitchen ideas? You’re not alone. In the past couple weeks, several friends have mentioned their kitchen needs work. Well, that’s what I DO, so I’m here to help in the kitchen. Think about the issues in your kitchen. What piles up, and where? Are your cabinets crammed with precarious stacks of bowls, pots and pans, and airtight containers?
 Many people have a small kitchen that doesn’t seem to have enough storage. Apartments, starter homes, and older homes tend to have small kitchens with woefully inadequate cabinet space. In my very first kitchen, I could barely open the oven without hitting our small table! At that time, I did not have many dishes or tools, so it wasn’t an issue.
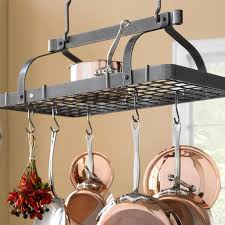 Sixth: A ceiling-mounted pot rack will hold a multitude of pots and pans!
